Wednesday, January 7, 2015

Light tent

I bought a light tent yesterday and it wasnt just to set it up and take a picture. Before I started experiment with my camera settings ( I take my pictures with my sony z2) I moved the lights back and forth for an half hour before I thought of the camera settings :P
This is the pictures from the short photo session from last night


Tuesday, December 30, 2014

I hate moldlines

I hate moldlines, becaus I allways see them after my first layer of paint. Today when I was about to start on some minis, all of them got moldline that needed to be corected. Primed a handfull of other miniatures and of course I spoted moldlines... So I fixed it and put everething in simple green and started on my other thing I dont like, basing. Whatever I try it dosen´t look good even thou I like the most simple bases. Forgeworlds basing whit just sand in different size and painted in a muted earth colors is simple and efective, but not for me. Cant get it to look right. So resin bases you think oh of course but when I look for something its time consuming (bacaus im picky) and when I find something it isnt availible other than from outside EU so the hassle is more than I wish for a couple of bases.

Sunday, December 28, 2014

What color?

Hmm, to plain?


Should I go for this armour color or maybe blue like the oficial artwork. Green like my Hero figure and the official figures on prodos site. Ahh, can´t deside...

Tutorial part 2

Tutorial part 2 - The face


Start with a basecote of tanned shadow, a nice thin unifrm coat. 


Wash all over, the paint should be colored water and stain the surface and run into receses.


Again with tanned shadow, now leave some shadow in the depest reseses. And drag the brush away from the shadow.

  
Now aplay tanned skin but leave some of the previos layer


Tanned highligt goes next, at this point I aplay the paint at the raised areas and then sort of "drybrush wet" lightly 

Same as the previos step but more water to the paint to make it more transparent.

Hope it can help someone!

Friday, December 26, 2014

Tutorial part 1

As a response to the nice coments and wonderings how I had painted The warzone figure I will try my best to tell. In part 1 we focus on the major parts like armour and pants. Details and face will come in part 2


Started of with a black primer, the primer I´l curently use is from ammo of mig and its sprays nice. 


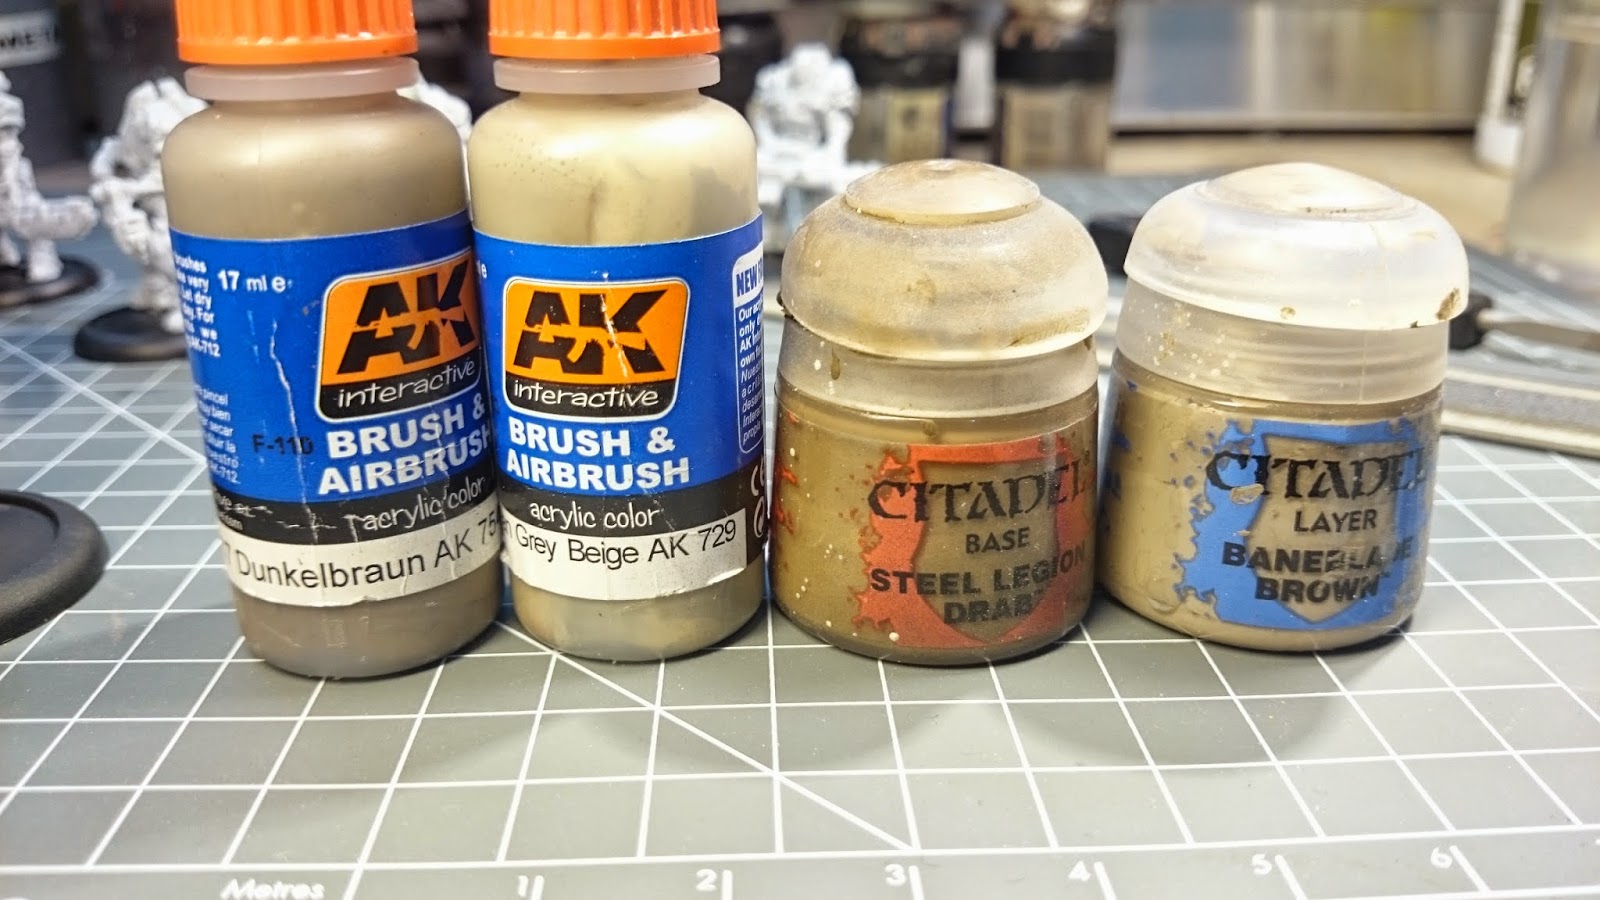
Starting with ak-interactive dunkelbraun sprayed on the pants and other parts you would like to be "textile" . Spraying it in a downward fasion, not just from abov. More like from all angels but from the underside... Instead of AK-dunkelbraun I would use citadel steel legion drab or Vallejo game color earth. 


Next I spray AK- Grey beige from above only trying to hit the high points of the pants. Here you could use citadel baneblade brown if you only fancy GW paints. Before I striped him down I had him painted one step more with a ushbati bone color but I skiped this part this time.


Next up I mask of the pants parts so I can spray the armour, this is what I use a silly putty, the nice thing with this is that you can precision mask. 


Here you can see the masking and the first layer on the armour. The color used Vallejo Model Air Tank green. Sprayed like the pants initial color, all over exept from the underside up.


From above again spraying VMA Dark yellow. When mask is of I washed the pants an backpack with citadell dryard bark diluted to nothing more than colored water. Thats all for part one...

Tonights work


This is what happend tonight. Primed the heavy infantry and Henry Thomas and some initial colors on Mr Thomas.  Managed to flaten Henry Thomas left cheek when I fixed the rough patch there... totaly altered the face. Will have to order me the same mini again some time becaus I realy liked the face and the mini is awesome.  Started on a tutorial and it was alot of work. Had to stop all the time and didnt find any flow. Hope to get some painting done tomorow too, and glue the light infantry models and get them ready for primer.